how to unstack washer and dryer?
Assessing the space: Evaluating the area where the washer and dryer are currently stacked to determine if unstacking is a viable option.
How to unstack washer and dryer? To determine if unstacking the washer and dryer is a viable option, it is crucial to carefully assess the space where they are currently stacked. Begin by considering the dimensions of the area, taking note of the height, width, and depth available. Measure the room to ensure that there is sufficient space for the appliances to be unstacked and rearranged without causing any obstructions or safety concerns.
Next, evaluate the structural integrity of the surrounding walls and flooring. Check for any signs of damage or weakness, such as cracks, sagging, or uneven surfaces. It is essential to ensure that the area can support the weight of both the washer and dryer without any risk of structural damage. Additionally, consider the proximity of nearby electrical outlets and water supply lines, as repositioning may be necessary. By thoroughly assessing the space, you can determine if unstacking is a feasible and practical solution for your laundry area.
Gathering the necessary tools: Identifying and collecting the tools required for safely unstacking the washer and dryer.
To successfully unstack a washer and dryer, it’s crucial to have the right tools at hand. Before starting the process, it’s important to gather the following essential tools: a socket wrench, pliers, screwdrivers (both flathead and Phillips), a level, and a sturdy dolly or handtruck. These tools will enable you to safely disconnect and remove the stacked appliances without causing any damage or injuries.
The socket wrench will be necessary for loosening and removing any nuts or bolts securing the washer and dryer together. Pliers may come in handy for disconnecting any hoses or clamps that are attached to the appliances. Additionally, screwdrivers will be vital for removing any screws or fasteners holding the stacked units in place. The level will ensure that the appliances are properly aligned once they are unstacked. Lastly, a sturdy dolly or handtruck will make it easier to transport the appliances once they are separated. By having these tools ready and easily accessible, the unstacking process will be much smoother and more efficient. Check how to install an electric dryer guide post.
Disconnecting the power supply: Safely unplugging the washer and dryer from the electrical outlet to avoid any potential accidents.
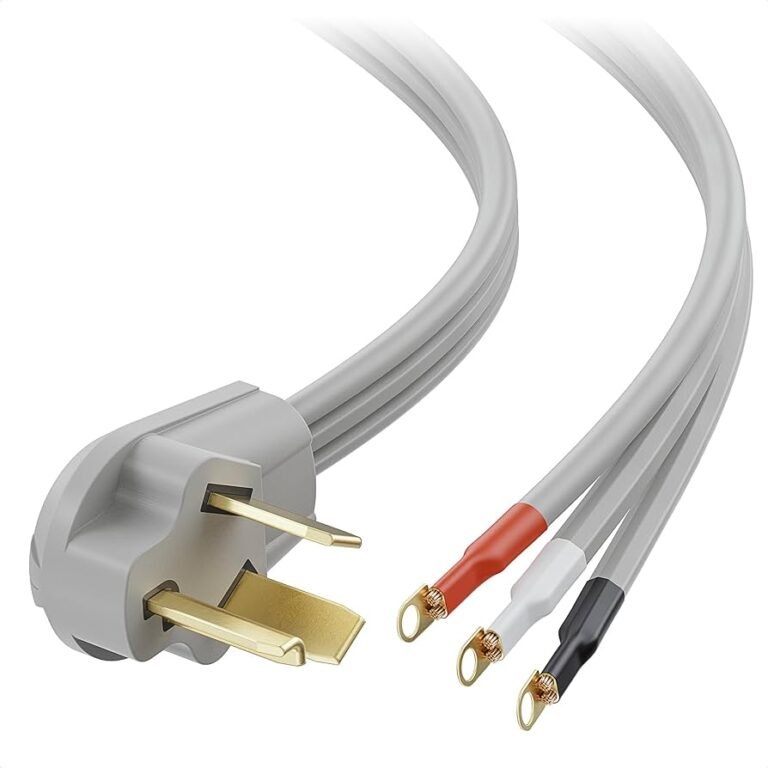
When it comes to unstacking a washer and dryer, the first step is to disconnect the power supply. This important task ensures the safety of both the appliances and the individuals involved in the process. To begin, locate the electrical outlet where the washer and dryer are plugged in. Carefully unplug each appliance, ensuring that the cords are not yanked or pulled forcefully. This gentle approach reduces the risk of damage to the electrical cords and prevents potential accidents, such as shocks or electrical fires. By taking the time to disconnect the power supply properly, you create a safer environment for yourself and those around you.
It is crucial to remember that safety should always be the top priority when handling electrical appliances. Before unplugging the washer and dryer, ensure that your hands are dry, and be mindful of any water or moisture present in the area. Take the necessary precautions to avoid electrical shocks by standing on a dry surface and using insulated gloves if needed. Additionally, carefully inspect the power cords for any signs of damage, such as fraying or exposed wires, which can increase the risk of electrical hazards. By following these precautions and guidelines, you can safely proceed to the next steps in unstacking the washer and dryer without any potential accidents.

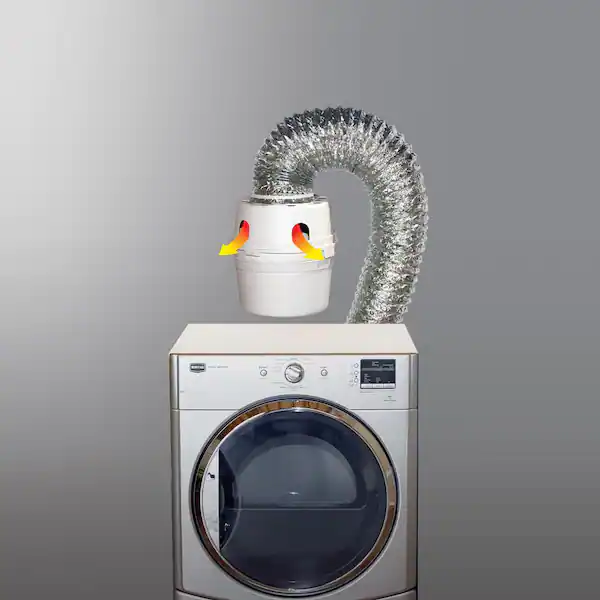
Turning off the water supply: Shutting off the water valves connected to the washer to prevent water leakage during the unstacking process.
To ensure a smooth unstacking process, it is essential to turn off the water supply connected to the washer. This step is crucial in preventing any unwanted water leakage. Located behind or next to the washer unit, the water valves control the flow of water into the washer. By shutting off these valves, you can effectively disconnect the washer from the water source. It is recommended to do this prior to unstacking to avoid any potential mess or damage to the surrounding area.
Taking a few moments to turn off the water supply can save you from the hassle of dealing with water spills during the unstacking process. Before starting, locate the water valves that are connected to the washer. Usually, you will find two valves, one for hot water and the other for cold water. Turn these valves clockwise until they are fully closed. This simple action will prevent water from flowing into the washer, minimizing the risk of any leaks or water damage. Remember to double-check that the valves are tightly closed before proceeding with the unstacking process.
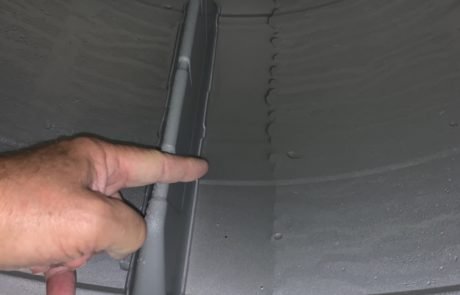
Detaching the dryer from the washer: Carefully removing any fasteners or attachments that connect the dryer to the washer unit.
To begin the process of unstacking the washer and dryer, it is necessary to detach the dryer from the washer unit. This step requires careful attention to ensure that all fasteners and attachments are properly removed. Begin by inspecting the back of the dryer for any visible screws or bolts that may be securing it to the washer.
Once these fasteners have been identified, use the appropriate tools, such as a screwdriver or wrench, to carefully loosen and remove them. Take caution not to force or strip any of the fasteners, as this may cause damage to the appliances. Additionally, refer to the manufacturer’s instructions for guidance on specific attachment points that may be present.
By meticulously removing all fasteners and attachments, the dryer can be successfully detached from the washer unit, making it ready for further steps in the unstacking process. Proceeding with care and precision at this stage will ensure a smooth transition and prevent any unnecessary complications during the rest of the unstacking procedure.
Securing the dryer: Ensuring the dryer is stable and won’t tip over during the unstacking process.
To ensure the safety of the unstacking process, it is crucial to secure the dryer and prevent it from tipping over. One way to achieve this is by using appliance straps or brackets specifically designed to hold the dryer in place. These straps can be attached to the wall behind the dryer and fastened tightly around the appliance to provide stability. Additionally, placing anti-skid pads or mats under the dryer’s feet can help prevent any unwanted movement or slipping during the unstacking procedure.
Another important aspect of securing the dryer is to ensure that it is properly balanced. Uneven weight distribution can increase the risk of the dryer tipping over during the unstacking process. To address this, it is recommended to check the positioning of the dryer and make any necessary adjustments to distribute the weight evenly. This can be done by adjusting the leveling feet or using shims to stabilize the appliance on an uneven surface. By taking these precautions, the dryer can be secured and will remain stable throughout the unstacking process, minimizing the risk of accidents or damage.
Removing the washer from the pedestal: Detaching the washer from the pedestal or base it is sitting on to prepare for unstacking.
To begin the process of unstacking the washer and dryer, the first step is to remove the washer from its pedestal or base. This is essential in preparing the appliances for unstacking. The pedestal or base acts as a support structure for the washer unit, and detaching it is necessary to ensure a safe and successful unstacking process.
To detach the washer from the pedestal, it is important to carefully inspect and locate the fasteners or attachments that are securing the two together. Depending on the make and model of the washer, these fasteners may be located on the back, sides, or front of the appliance. It is crucial to use the appropriate tools, such as a screwdriver or wrench, to loosen and remove these fasteners without causing any damage to the washer or the pedestal. By methodically detaching these fasteners, the washer can be separated from the pedestal, allowing for the next step in the unstacking process.
Safely lowering the washer: Gradually lowering the washer down from its current position without causing any damage or injuries.
When it comes to safely lowering the washer from its current position, there are a few key steps to keep in mind. First and foremost, it is important to ensure that there is enough space and clearance to lower the washer without any obstructions or potential hazards. This means clearing away any items or furniture that may be in the way and ensuring that the path is clear.
Next, it is crucial to have a solid and sturdy grip on the washer when lowering it. It is recommended to have at least two people involved in this process to ensure better control and prevent any accidents. Carefully hold onto the washer from different angles, using your legs and back to provide support and stability. Slowly and steadily lower the washer down, being cautious of any delicate parts or connections that may need to be maneuvered. By taking these precautions and being mindful of the washer’s movement, you can safely lower it without causing any damage or injuries.
Rearranging the laundry area: Organizing the space where the washer and dryer were originally stacked to accommodate the unstacked appliances.
To effectively rearrange the laundry area after unstacking the washer and dryer, it is important to create an organized space that maximizes efficiency. Begin by removing any unnecessary items or clutter that may have accumulated in the area. Clearing the space will allow for better access and prevent potential tripping hazards.
Next, consider the placement of the unstacked appliances. Position them in a way that allows for easy maneuverability, ensuring cords and hoses are properly connected and out of the way. It may also be beneficial to install shelving or storage units nearby to keep laundry supplies and detergent within reach.
Once the appliances are in place, take a moment to evaluate the overall functionality of the laundry area. Consider the layout and flow, making sure there is ample space for sorting, folding, and ironing clothes. It may be helpful to designate specific zones for each task, creating a more efficient and organized workflow. Additionally, ensure there is proper ventilation to prevent any potential heat buildup from the appliances.
By thoughtfully arranging the laundry area, you can create a functional and organized space that makes the laundry process more convenient and enjoyable.
Testing the newly un
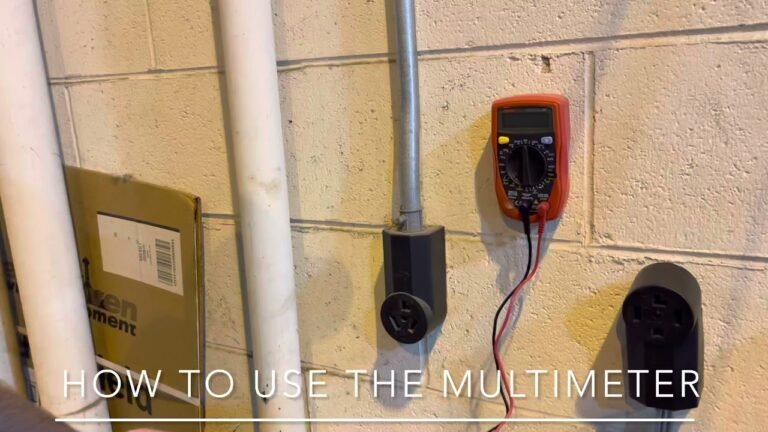
After successfully unstacking the washer and dryer and rearranging the laundry area, it is crucial to thoroughly test the appliances to ensure they are functioning properly. Begin by checking the power supply and making sure that both the washer and dryer are securely plugged into the electrical outlet. Turn on each appliance separately and listen for any unusual sounds, such as grinding or buzzing. Additionally, carefully inspect the control panels of both appliances to ensure that all buttons and knobs are in good working order.
Once the power supply has been confirmed, it is time to test the water supply for the washer. Turn on the water valves connected to the washer and check for any visible leaks or drips. Select a wash cycle and observe if the washer is filling up with water correctly. Run a test load of laundry to further evaluate the washer’s performance. Similarly, for the dryer, confirm that the heating element is functioning by running a test load of clothes and monitoring if they are drying effectively within a reasonable time frame.
Why would someone want to unstack their washer and dryer?
There could be various reasons for unstacking a washer and dryer, such as rearranging the laundry area, creating more space, or making repairs or replacements easier.
How do I assess if unstacking is a viable option for my washer and dryer?
You can evaluate the area where the appliances are currently stacked to determine if there is enough space to unstack them without causing any issues or safety concerns.
What tools do I need to safely unstack a washer and dryer?
You will need basic tools such as screwdrivers, wrenches, and possibly a dolly or moving straps to safely unstack the washer and dryer.
How do I disconnect the power supply before unstacking?
Safely unplug the washer and dryer from the electrical outlet to avoid any potential accidents or electrical hazards.
Should I turn off the water supply before unstacking my washer?
Yes, it is important to shut off the water valves connected to the washer to prevent any water leakage during the unstacking process.
How do I detach the dryer from the washer unit?
Carefully remove any fasteners or attachments that connect the dryer to the washer unit, ensuring not to damage any parts in the process.
How can I ensure that the dryer is stable and won’t tip over during unstacking?
Take necessary precautions to secure the dryer properly, using straps or other stabilizing methods to ensure it remains stable during the unstacking process.
What is the best way to remove the washer from its pedestal or base?
Follow the manufacturer’s instructions or consult the user manual to properly detach the washer from the pedestal or base it is sitting on.
How can I lower the washer without causing any damage or injuries?
Gradually lower the washer down from its current position, using proper lifting techniques and caution to avoid any damage or injuries.
How should I rearrange the laundry area after unstacking the appliances?
Organize the space previously occupied by the stacked washer and dryer to accommodate the unstacked appliances, considering factors such as accessibility, plumbing connections, and storage options.